




Workspace Merchant Rules
Merchant Rules
Merchant Rules let Workspace Admins automatically update expense fields when an expense matches a merchant name. Use them to apply consistent categories, tags, merchant names, tax settings, and other expense fields across expenses.
How to create Merchant Rules
To create a Merchant Rule:
- In the navigation tabs (on the left on web, and at the bottom on mobile), click Workspaces > [workspace name].
- Click Rules.
- In the Merchant section, click Add merchant rule.
- Enter the merchant name and choose how it should match:
- Contains
- Matches exactly
- Select the fields you want the rule to update.
- Optionally apply the rule to existing unsubmitted expenses and review matching expenses using Preview matches.
- Select Save Rule
Note: Merchant Rules are only available after Rules are enabled for the workspace. Learn how to enable Workspace Rules.
How Merchant Rules are applied
Each Merchant Rule matches expenses using either Matches exactly or Contains.
When an expense is created and its merchant matches a rule, Expensify automatically updates the fields configured in that rule.
Keep these behaviors in mind:
- Rules are applied when an expense is created.
- If multiple rules match, the earliest-created rule is applied.
- Fields that members manually set during expense creation aren’t overwritten.
How to make Merchant Rules more accurate
Use these best practices to ensure predictable results:
Use specific merchant names
- Start with exactly matches for common vendors (e.g., “Uber”, “Slack”) to avoid false matches.
- Use contains carefully, since broad terms can match unintended merchants.
Test Merchant Rules before rollout
- Use Preview matches during setup.
- Start with narrow rules and expand as needed.
What can you do with Merchant Rules?
Merchant Rules can help you:
- Standardize merchant names (for example, “Starbucks #1234” → “Starbucks”)
- Automatically categorize expenses (for example, Uber → Travel)
- Apply consistent tags (for example, Staples → Office)
- Mark expenses as reimbursable or non-reimbursable (for example, Slack → Non-reimbursable)
- Apply descriptions or tax settings automatically
FAQ
What happens if a personal expense rule and a Merchant Rule both apply?
Personal expense rules take precedence over Merchant Rules. Learn more about Personal Expense Rules.
How can I tell which Merchant Rule was applied?
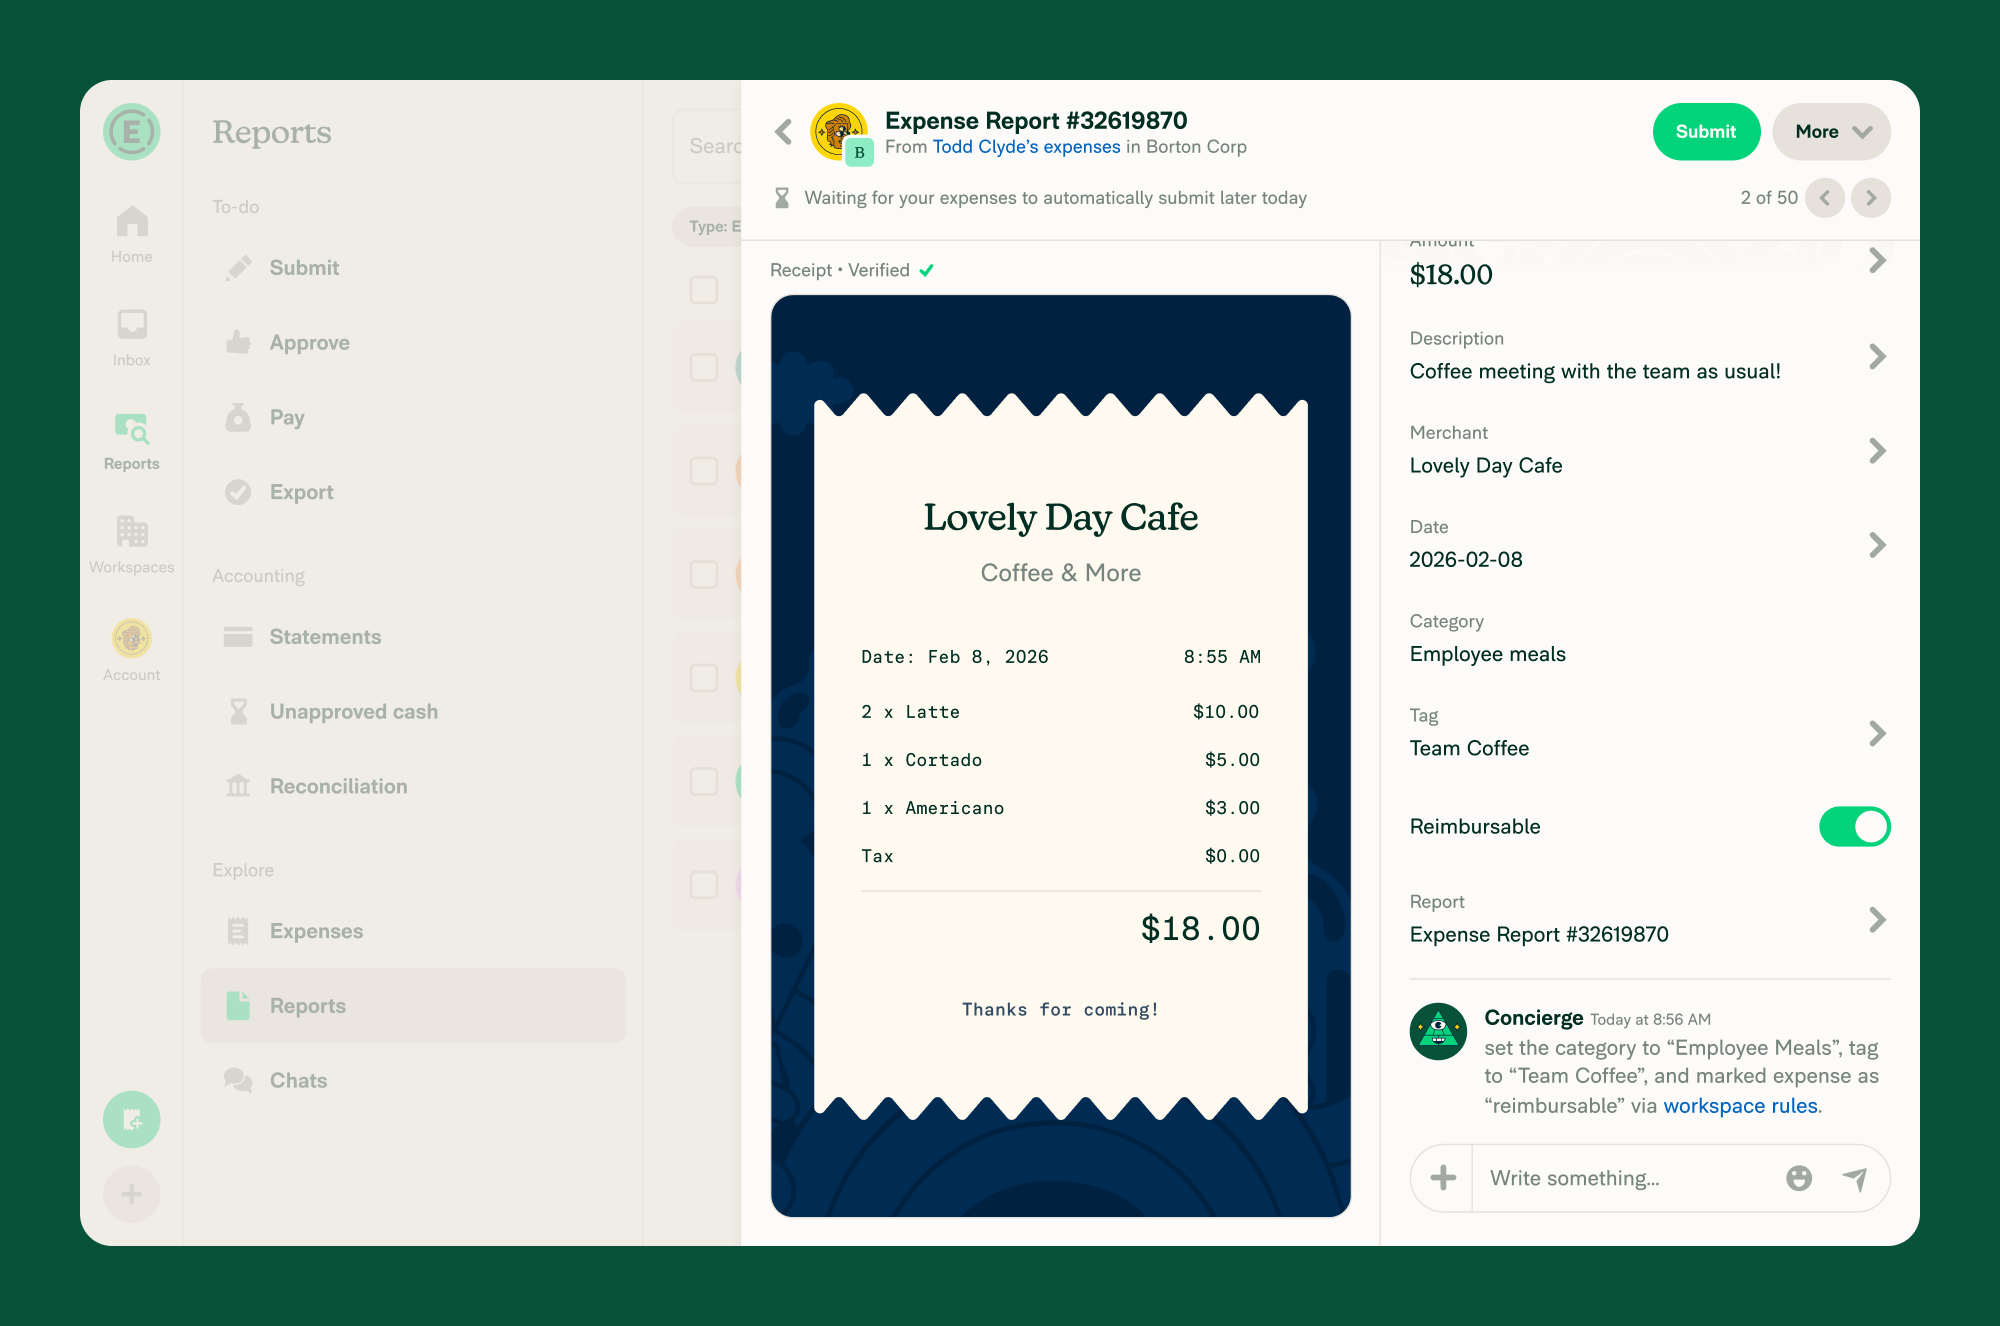
When a Merchant Rule updates an expense, Expensify adds an automated message to the expense chat.
To check which rule was applied:
- Open the expense.
- Scroll to the bottom of the expense details.
- Look for a message from Concierge indicating the update.
The message identifies which fields were updated and that the changes were made by a Merchant Rule.
Why didn’t my Merchant Rule apply?
Common reasons include:
- The merchant name didn’t match the rule criteria.
- The rule is disabled.
- Another rule matched first.
- A field was manually set during expense creation.
- The rule was created after the expense and wasn’t applied retroactively, unless you select “apply to existing expenses” when creating the rule.
How do I clear a Category, Tag, or Tax value from a Merchant Rule?
When you add or edit a rule and open the Category, Tag, or Tax field, select None to clear the previously selected value. Then select Save rule.
What expense fields can be updated by Merchant Rules?
Merchant Rules can update:
- Merchant name
- Category
- Tag
- Description
- Reimbursable status
- Billable status
- Tax


